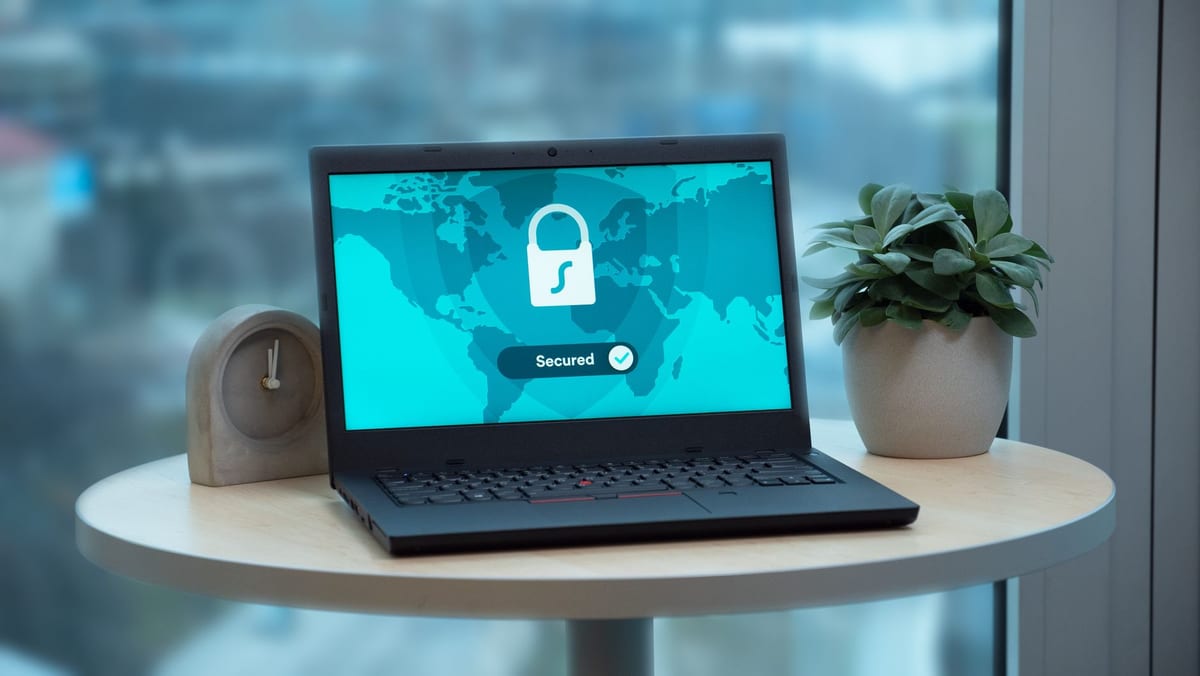
Free SSL Certificates for WordPress: The Five-Minute Setup
Disclosure: Some links in this article are affiliate links. If you click and make a purchase, we may earn a commission at no extra cost to you. This does not influence our editorial recommendations - we only recommend products and services we genuinely believe in. Read our full affiliate disclosure.

There was a time when SSL certificates cost money, and the hosting industry has never quite let that era go - checkout pages still offer paid SSL plans with names that sound important. The reality in 2026: free SSL is the standard, it's trusted by every browser, and setting it up on WordPress takes minutes.
This is the free SSL guide: where the certificates come from, how to enable one, and the mistakes that leave visitors staring at a warning page instead of your site.
Note: this page names paid tools. If you subscribe through any links here, RemoGrid may earn a commission at no extra cost to you.
Website Optimization and Security Best Practices
Choosing a reliable web host is the first step, but maintaining optimal website performance requires ongoing attention to configuration, caching, and security essentials. A fast, secure site improves user experience and supports higher search engine rankings.
Implement server-level or plugin-based caching, configure a content delivery network (CDN) like Cloudflare, and compress all images before uploading them to your server. Keeping your themes, plugins, and core CMS software updated protects your site against common vulnerabilities and ensures compatibility with modern PHP and database standards.
Always maintain automated off-site backups. Whether using an automated host backup tool or an independent cloud backup solution, having a recent restore point ensures you can recover quickly from unexpected technical errors or server issues.
Scaling Your Hosting as Your Traffic Grows
As your website traffic grows from a few hundred visitors to tens of thousands of monthly page views, monitor server response times and resource use closely. Shared hosting environments share server memory and CPU power among multiple accounts, which can lead to slowdowns during sudden traffic spikes.
When you begin noticing slower load times during peak hours, consider upgrading to a virtual private server (VPS) or a dedicated cloud hosting plan. Cloud-based hosting provides isolated resources, scalable bandwidth, and greater control over server configurations.
Planning your hosting upgrades proactively prevents site downtime during major marketing campaigns or viral traffic events, ensuring your visitors always enjoy a fast, smooth browsing experience.
Actionable Next Steps and Implementation Guide
To turn the advice in this guide into tangible results, start by breaking down your implementation into manageable daily tasks. Trying to execute everything at once often leads to overwhelm and abandoned projects.
Begin with a quick assessment of your current setup, identify the single highest-priority bottleneck, and dedicate focused time to resolving it first. Document your progress, track your results against measurable benchmarks, and iterate based on what works best for your specific situation.
Consistency over time is what ultimately separates successful projects from stalled ideas. Dedicating even an hour each day to focused execution compounds into substantial progress over weeks and months.
The Short Answer
Enable the free Let's Encrypt SSL in your hosting panel, or use Cloudflare's free SSL. It takes minutes, costs nothing, and renews automatically. Then force https so the padlock actually shows.
Where Free SSL Comes From
| Source | Cost | How it works |
|---|---|---|
| Let's Encrypt | Free | Automated, ~90-day certs |
| Your host's panel | Free, included | One click to enable |
| Cloudflare | Free | SSL through the CDN |
All three are genuine, trusted certificates. Let's Encrypt is the engine behind most of them - it's a nonprofit project that made SSL free for everyone, and browsers trust it the same way they trust paid certificates.
The Setup, Step by Step
- Find the SSL setting in your hosting panel - usually under security or SSL/TLS
- Enable Let's Encrypt - host generates and installs the certificate automatically
- Wait for activation - usually minutes
- Force https - set the site to redirect http to https so visitors land on the secure version
- Check the padlock - visit your site and confirm the padlock shows
That's the whole setup. The automation does the heavy lifting; your job is flipping the switch and checking the result.
The Paid SSL Upsell
Here's the thing to know at checkout: hosts still sell paid SSL plans, and the pitch is that they're "more secure" or "with warranty." The honest version:
- Let's Encrypt SSL is trusted by all major browsers
- Paid SSL's extra warranty mostly benefits businesses processing high-value transactions
- For a standard WordPress site, the free certificate is the same padlock
Don't pay for SSL out of fear. The free one is real.
The Common Mistakes
- Forgetting the https redirect - SSL installed but the site still loads via http, so the padlock never appears
- Mixed content - some images or scripts still load via http, triggering warnings even with SSL
- Expired certificates - automatic renewal usually handles this, but check after moving hosts
- Moving hosts without reinstalling - old certificate stops working
Most SSL problems are these four, and all four are fixable in the hosting panel.
The WordPress Address Setting
There's a quiet setting that confuses more people than the certificate itself: the site address in WordPress settings. After enabling SSL, update WordPress Address and Site Address to start with https instead of http.
Why it matters: WordPress builds internal links from those two fields. Leave them on http and your pages keep pointing at the insecure version, triggering mixed-content warnings even with a valid certificate. The fix is two text fields and a save - most overlooked step in the whole SSL setup, and the reason many "I installed SSL and it didn't work" complaints exist.
What I'd Actually Do
Enable free SSL on every site immediately - padlock is table stakes for trust in 2026. Force the https redirect, fix any mixed-content warnings, and ignore the paid SSL upsell. If your host makes free SSL awkward, use Cloudflare's free plan for the certificate. The whole thing costs nothing and takes minutes, and it's the difference between visitors trusting your site and visitors leaving.
Final Takeaway
Free SSL for WordPress is real, standard, and trusted: Let's Encrypt via your host, or Cloudflare, both free. Enable it, force https, fix mixed content, and skip the paid upsell. The padlock builds trust that no amount of content can replace, and it costs exactly zero. Five minutes of setup, years of trust.
Also read: the CDN angle in how to pay for Cloudflare in Kenya, the host choice in best WordPress hosting for beginners, and the move in how to move WordPress to a new host.
Frequently Asked Questions
Most hosts include free SSL via Let's Encrypt, which you enable in the hosting panel. Cloudflare also provides free SSL. The certificate itself is genuinely free.
Yes. Let's Encrypt certificates are industry-standard and trusted by browsers. Paying for SSL is mostly unnecessary.
Let's Encrypt certificates last roughly 90 days and renew automatically. Hosts handle the renewal.
Usually SSL is missing, expired, or the site still loads via http. Force https redirects to fix mixed content and warnings.
No, the certificate is free. Some hosts bundle paid SSL as an upsell, but free Let's Encrypt covers the same job.
Mixed content is a page served over HTTPS that still loads images or scripts over HTTP, which browsers block or flag. Fix it by updating those URLs to HTTPS after the migration.
Yes, most hosts offer one-click free SSL through Let's Encrypt. The setup is usually automatic with the host.

Alex Morgan is the founder and lead editor of RemoGrid. With over six years of hands-on experience in remote operations, cross-border freelance workflows, and AI tool benchmarking, Alex independently tests and audits software platforms to help modern digital workers build sustainable online income streams. He regularly reviews international payment systems (Wise, Stripe, Payoneer, local mobile wallets) and conducts real-world usability benchmarks across AI productivity tools.